Evaluate a prompt against a dataset
What you'll build: a dataset made from real feedback, an experiment that runs one or more (version × model) combinations across it, and a report comparing them — so "did this prompt change actually help?" has a data-backed answer.
:::info Requires the worker
Experiment runs are processed asynchronously by the Acrux Core worker process.
The API calls below return immediately with a queued status; the worker performs
the actual gateway calls and scoring in the background.
:::
1. Collect feedback
Evaluation starts from signal on real traffic. On any trace (or span), leave a thumbs up/down and an optional comment — that comment becomes the example's grading criteria later. Feedback is only eligible for a dataset if its source trace captured payloads (so the prompt variables were stored).
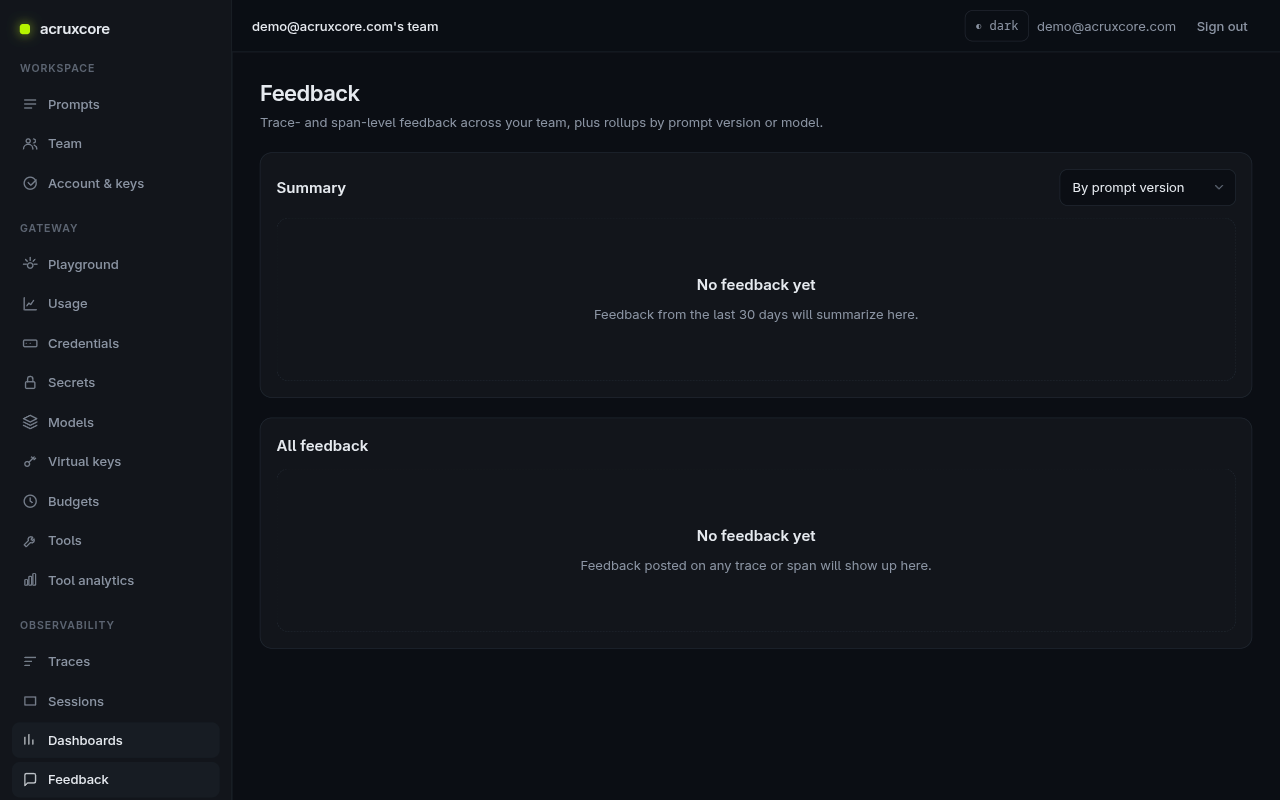
Feedback can also be reported over the API:
curl -X POST "$ACRUXCORE_BASE_URL/traces/<traceId>/feedback" \
  -H "Authorization: Bearer $ACRUXCORE_API_KEY" \
  -H "Content-Type: application/json" \
  -d '{"rating": -1, "comment": "Too formal — be warmer"}'
2. Build a dataset from feedback
Select feedback rows and turn them into a dataset — a frozen set of example
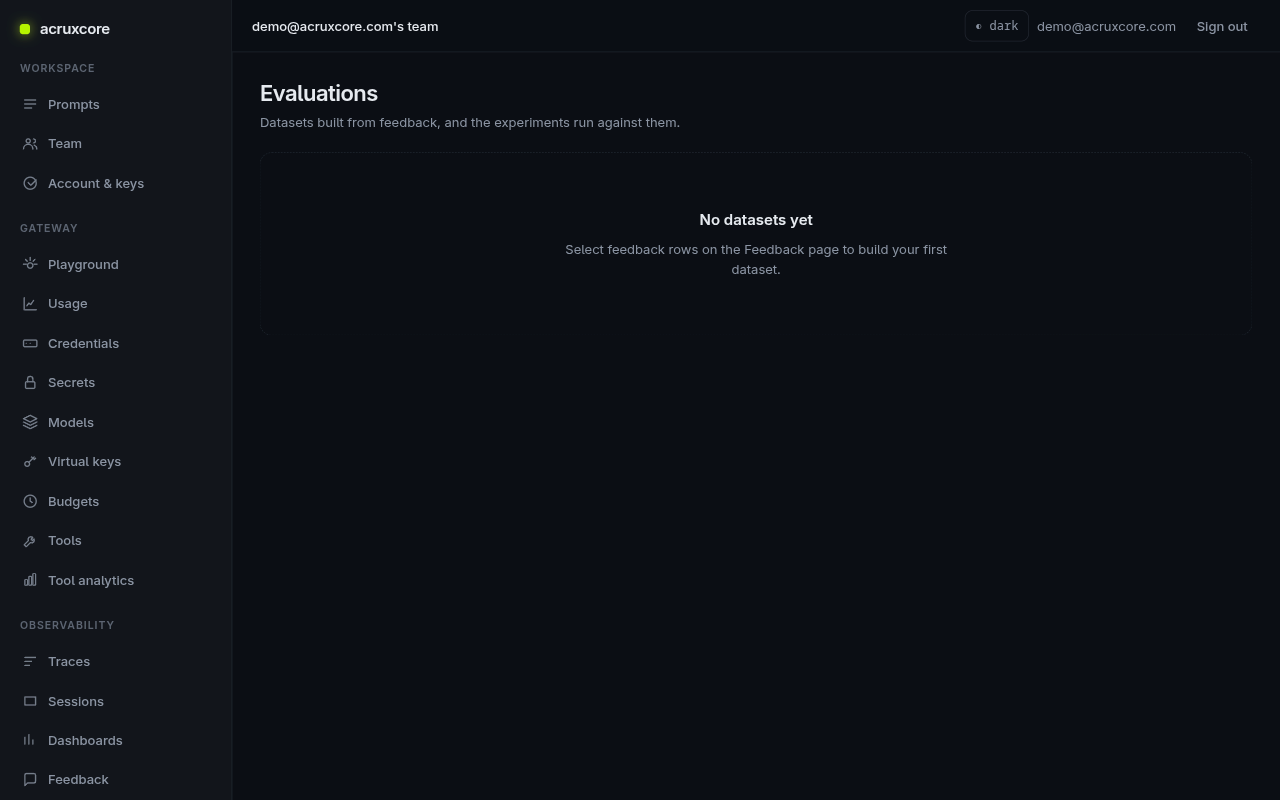
inputs, each with its own criteria. Evaluations → Datasets lists them; a new
workspace starts empty.
- curl
- Python (requests)
curl -X POST "$ACRUXCORE_BASE_URL/datasets/from-feedback" \
  -H "Authorization: Bearer $ACRUXCORE_API_KEY" \
  -H "Content-Type: application/json" \
  -d '{
    "name": "unhappy-support-replies",
    "overall_feedback": "Warm, concise, always end with a next step",
    "feedback_ids": ["<feedback-id-1>", "<feedback-id-2>"]
  }'
{ "id": "<dataset-id>", "name": "unhappy-support-replies", "example_count": 2, "skipped": [] }
import os, requests

base, key = os.environ["ACRUXCORE_BASE_URL"], os.environ["ACRUXCORE_API_KEY"]
h = {"Authorization": f"Bearer {key}"}

dataset = requests.post(f"{base}/datasets/from-feedback", headers=h, json={
    "name": "unhappy-support-replies",
    "overall_feedback": "Warm, concise, always end with a next step",
    "feedback_ids": ["<feedback-id-1>", "<feedback-id-2>"],
}).json()
print(dataset["id"], dataset["example_count"])
3. Create and run an experiment
An experiment pairs a dataset with a prompt under test and an explicit grid to
sweep: one or more version_ids × one or more models. Creating it is one call;
starting a run is another (it returns 202 queued and hands off to the worker).
- curl
- Python (requests)
# Create the experiment
curl -X POST "$ACRUXCORE_BASE_URL/experiments" \
  -H "Authorization: Bearer $ACRUXCORE_API_KEY" \
  -H "Content-Type: application/json" \
  -d '{
    "dataset_id": "<dataset-id>",
    "prompt_id": "<prompt-id>",
    "name": "support-reply v2 vs v1",
    "version_ids": ["<v2-version-id>"],
    "models": ["support-model"]
  }'
# → { "id": "<experiment-id>", ... }

# Start a run (async)
curl -X POST "$ACRUXCORE_BASE_URL/experiments/<experiment-id>/runs" \
  -H "Authorization: Bearer $ACRUXCORE_API_KEY"
# → { "run_id": "<run-id>", "status": "queued" }
experiment = requests.post(f"{base}/experiments", headers=h, json={
    "dataset_id": dataset["id"],
    "prompt_id": "<prompt-id>",
    "name": "support-reply v2 vs v1",
    "version_ids": ["<v2-version-id>"],
    "models": ["support-model"],
}).json()

run = requests.post(f"{base}/experiments/{experiment['id']}/runs", headers=h).json()
print(run["run_id"], run["status"])  # -> queued
When a prompt is under test, Acrux Core also adds an automatic production baseline cell, so you always compare your candidate against what's live today.
4. Read the report
Poll the run until it finishes, then read the report — per-cell scores across the dataset, so you can see whether v2 beat v1 (or the baseline).
curl "$ACRUXCORE_BASE_URL/runs/<run-id>" \
  -H "Authorization: Bearer $ACRUXCORE_API_KEY"          # status: queued → running → completed

curl "$ACRUXCORE_BASE_URL/runs/<run-id>/report" \
  -H "Authorization: Bearer $ACRUXCORE_API_KEY"          # per-cell scores
In the web app, Evaluations → the run shows the same report as a comparison grid.
What's next
- Promote the winning version to
production— see Version a prompt. - Full field reference: Datasets and Experiments in the API Reference.