Quickstart
By the end of this page you'll have made a real, traced LLM call that renders a prompt you authored and routes through a provider of your choice. It takes about ten minutes.
1. Create your account
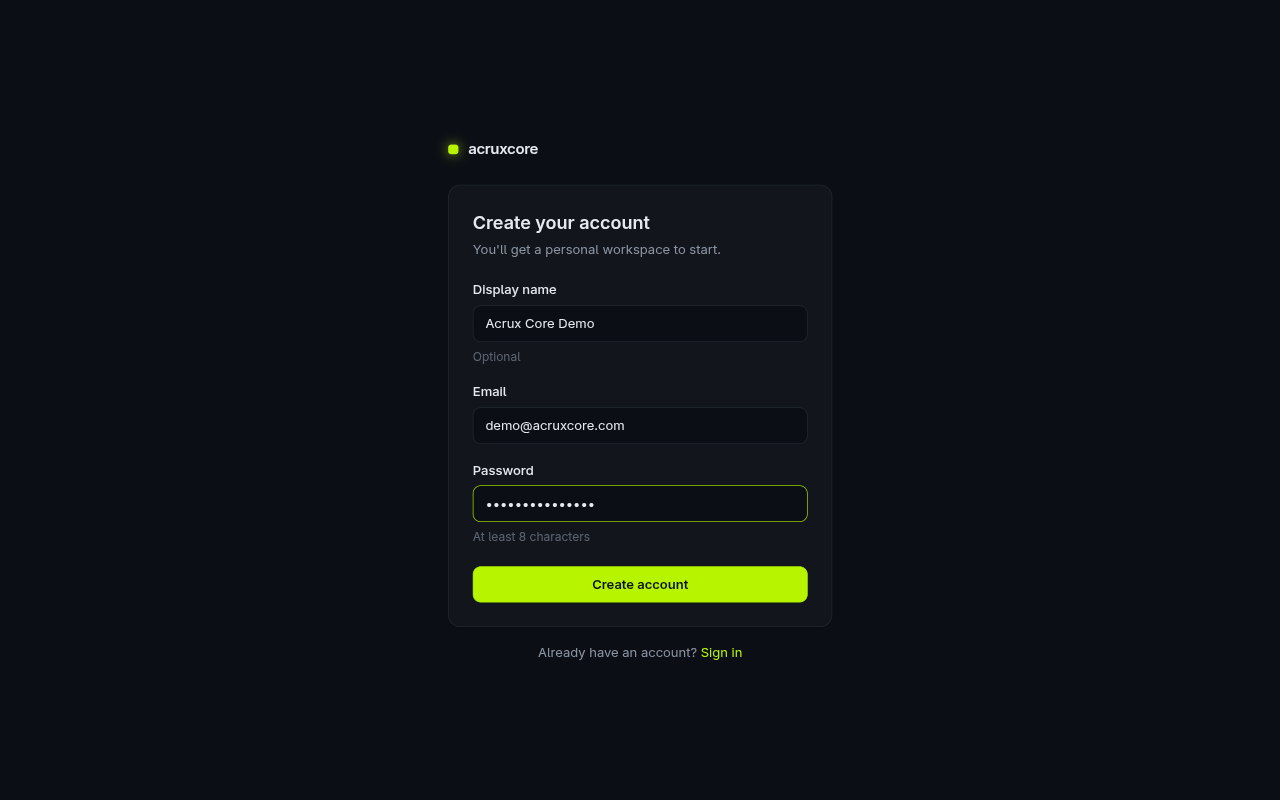
Open the web app and sign up. You get a personal team (workspace) immediately — no separate "create team" step.
2. Create an API key
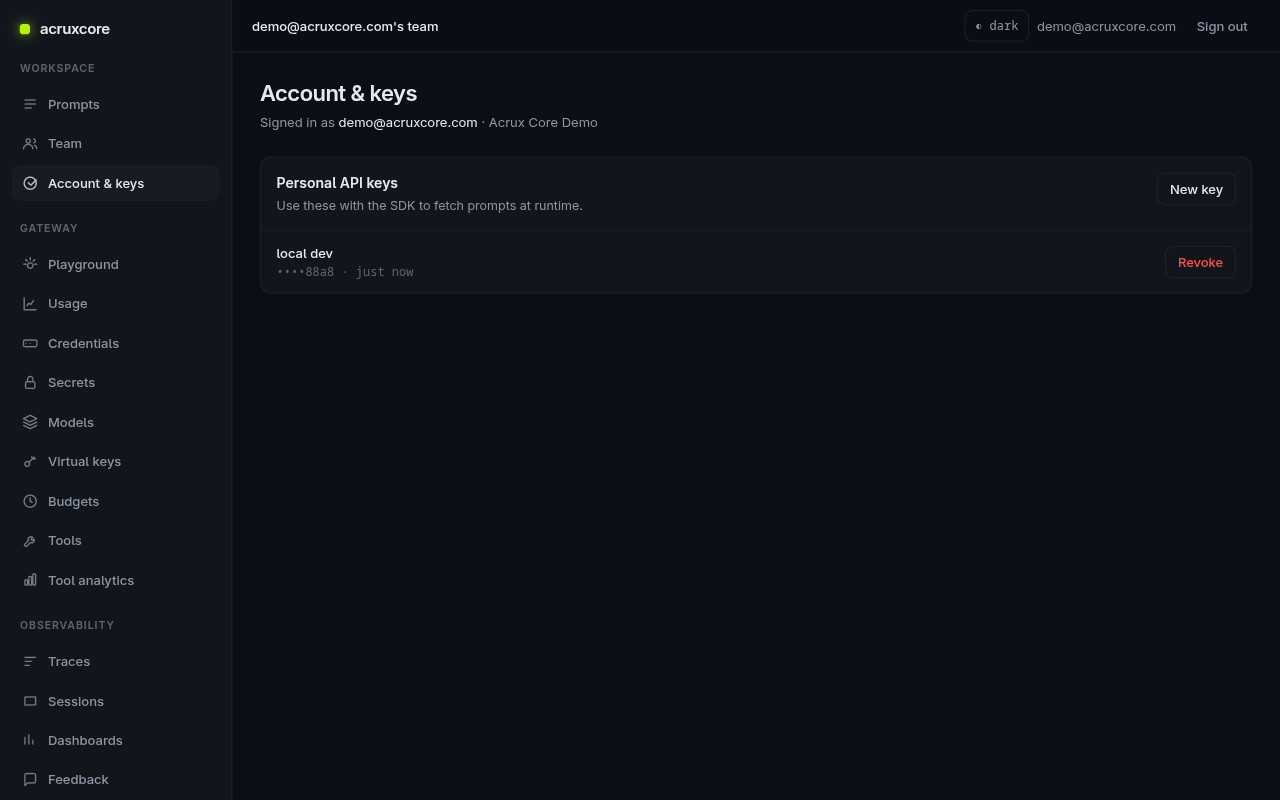
Go to Account & keys and click New key. Copy the key now — it's shown
only once. This is what the SDK and your curl calls authenticate with.
Set two environment variables you'll reuse everywhere:
export ACRUXCORE_API_KEY="<paste your key>"
# Hosted: https://api.acruxcore.com/api/v1 · Local dev: http://localhost:3001/api/v1
export ACRUXCORE_BASE_URL="https://api.acruxcore.com/api/v1"
3. Register a model
The gateway needs one credential (a provider key) and one model (a public name pointing at it). In the web app:
- Gateway → Credentials → New credential. Pick your provider — this guide
uses OpenAI-compatible with the base URL
https://openrouter.ai/api/v1and an OpenRouter key. Paste the key; it's encrypted at rest and never shown again. - Gateway → Models → New model. Set Public name to
support-model, pick the credential, and set Upstream model toopenai/gpt-4o-mini.
Callers now send model: "support-model"; the upstream id can change later
without breaking them. (The gateway guide
covers this in detail.)
4. Author a prompt
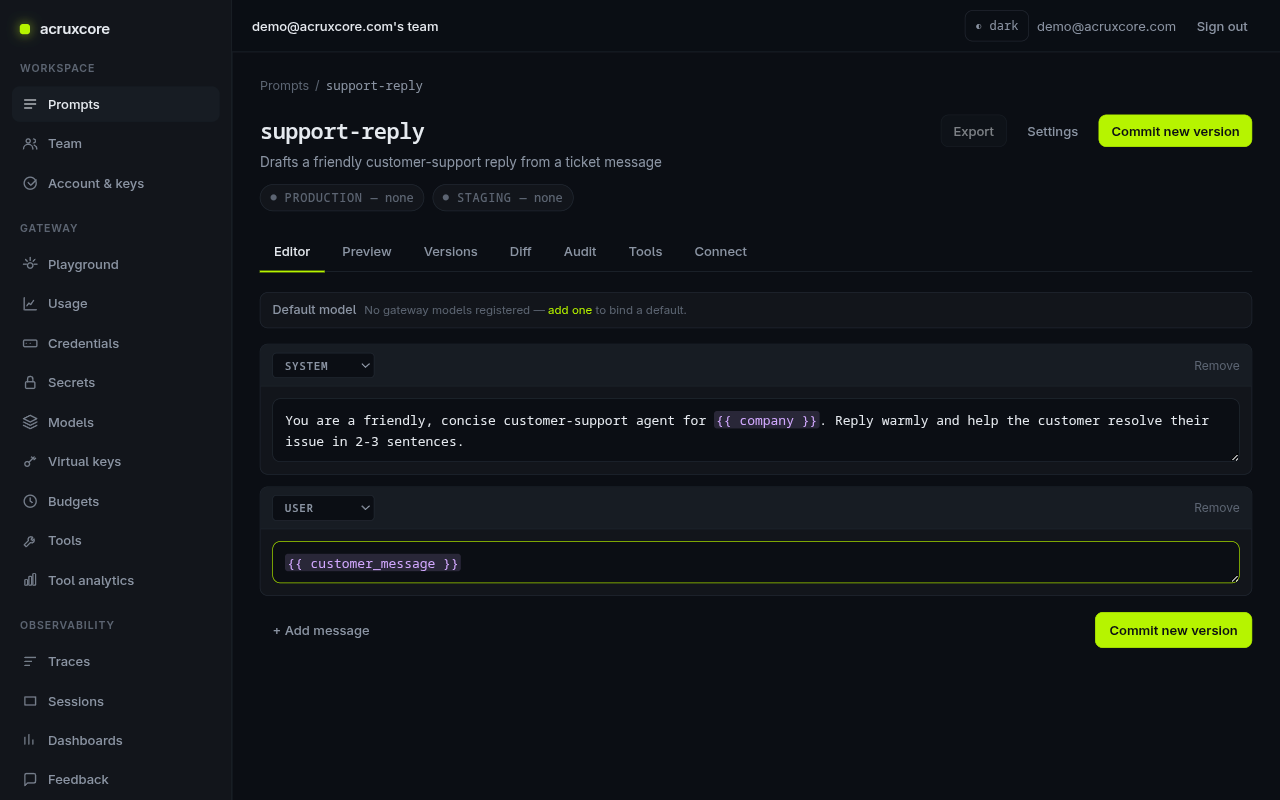
Prompts → New prompt. Name it support-reply. Add a system message and a
user message, using {{ variables }} where the input goes:
See the raw prompt template
system: You are a friendly, concise customer-support agent for {{ company }}.
        Reply warmly and help the customer resolve their issue in 2-3 sentences.
user:   {{ customer_message }}
Click Commit new version — the first commit auto-creates the production and
staging aliases pointing at v1. (See Version a prompt
for the full lifecycle.)
5. Make your first call
Now call the gateway with a reference to your stored prompt. The gateway
renders the template server-side, calls support-model, and records a trace —
one request does it all.
- curl
- Node (SDK)
- Python (requests)
curl -X POST "$ACRUXCORE_BASE_URL/gateway/chat/completions" \
  -H "Authorization: Bearer $ACRUXCORE_API_KEY" \
  -H "Content-Type: application/json" \
  -d '{
    "model": "support-model",
    "prompt": {
      "name": "support-reply",
      "alias": "production",
      "variables": {
        "company": "Acme",
        "customer_message": "My order #123 has not arrived yet."
      }
    }
  }'
npm install @acruxcoreai/sdk
import AcruxCore from '@acruxcoreai/sdk';

// Reads ACRUXCORE_API_KEY and ACRUXCORE_BASE_URL from the environment.
const hub = new AcruxCore();

// Render the stored prompt to messages, then complete it.
const { messages } = await hub.renderPrompt('support-reply', 'production', {
  company: 'Acme',
  customer_message: 'My order #123 has not arrived yet.',
});

const { content } = await hub.chat({ model: 'support-model', messages });

console.log(content);
pip install requests
import os, requests

base = os.environ["ACRUXCORE_BASE_URL"]
key = os.environ["ACRUXCORE_API_KEY"]

resp = requests.post(
    f"{base}/gateway/chat/completions",
    headers={"Authorization": f"Bearer {key}"},
    json={
        "model": "support-model",
        "prompt": {
            "name": "support-reply",
            "alias": "production",
            "variables": {
                "company": "Acme",
                "customer_message": "My order #123 has not arrived yet.",
            },
        },
    },
)
print(resp.json()["choices"][0]["message"]["content"])
The response is OpenAI-shaped:
{
  "id": "gen-...",
  "model": "openai/gpt-4o-mini",
  "object": "chat.completion",
  "choices": [
    { "index": 0, "message": { "role": "assistant", "content": "I'm sorry to hear that your order hasn't arrived yet! ..." }, "finish_reason": "stop" }
  ],
  "usage": { "prompt_tokens": 57, "completion_tokens": 32, "total_tokens": 89 }
}
:::tip Prefer the OpenAI SDK?
The gateway is OpenAI-compatible, so you can point the official openai client at
ACRUXCORE_BASE_URL + "/gateway" and call chat.completions.create(...). See the
gateway guide.
:::
6. See it in Traces
Open Observability → Traces. Your call is at the top — click it to see the model, token counts, latency, and status. That's the full loop: a versioned prompt, routed through the gateway, recorded as a trace.
More of the SDK
renderPrompt and chat above are the two calls most apps need first, but
@acruxcoreai/sdk covers the rest of the platform too:
- Streaming — pass
stream: truetochat()and iterate the response token by token instead of awaiting it whole. - Tool-calling loop —
runToolLoopdrives the model → dispatch → respond round-trip for you when your prompt has tools attached, and traces every round-trip automatically. - Read traces back —
getTrace()andlistTraces()pull a trace's full span tree or a filtered list, without leaving Node. - Feedback —
submitFeedback()/updateFeedback()attach a rating, label, or comment to a trace or a single span, e.g. surfacing an end user's thumbs-up/down.
See Chat, stream, and collect feedback with the SDK for all of it worked through end to end.